I have a love for words and a knack for SEO – and as a mama, I know just how challenging it can be to run a business while raising a family. This blog is just one of the many resources you’ll find here that’ll help you boost your online visibility without sacrificing your sanity.
Thanks for being here (and I hope you’ll stick around).
Mckayla
categories
blogging
seo
Business
Six simple steps to better seo
download now
explore
case studies
to the shop
work with us
follow us on instagram
share
If I see one more blogger or business owner overlook their images, I might cry—but, really, your headshots, cute stock photos, and even your faves from your brand shoot all impact your SEO (aka how you show up on Google).
See, Google has this nifty ability to index your images.
It sends its little “bots” to crawl (check out) your pages to see what you’re writing about, who you’re writing for, and why you’re writing it so that it can put your site where it belongs in search (and if you’re doing it right, you’ll end up where your dream clients are—YAY!).
Whether you’re updating the images on your website, rebranding (or rebuilding), or even adding a featured image to your latest blog post, you have to optimize it for SEO or search engine optimization if you want the best chance for your people to find you on Google.
That’s what we’ll focus on today: how to optimize your blog images for SEO (although you CAN use this guide for the rest of your website images, too).
Heads up: I use affiliate links for my favorite products. If you click and purchase, I may receive a small commission at no extra cost to you. Check out my full disclosure and privacy policy here.
What Does it Mean to “Optimize” Your Blog Post Images for SEO?
You may have heard the phrase “SEO-friendly blog posts” (and if you haven’t, you have now), which essentially means you’re following all of Google’s “rules” and SEO best practices to the best of your ability—this is what gives you the best chance of showing up in Google’s search results.
Well, one part of making a blog post look good to Google is optimizing its images for SEO, too. You’re giving your blog post a little boost by making sure your images are doing what they ought to be doing, whether that’s your featured image, infographics, screenshots, product images, or whatever they may be.
Images can rank in Google searches and send even more perfect-fit people to your blog posts. Did you know that 62.6% of all Google Web Search searches are from Google images? So, yeah, it’s worth it.
Why You Need to Optimize Your Images (and Its Impact on SEO)
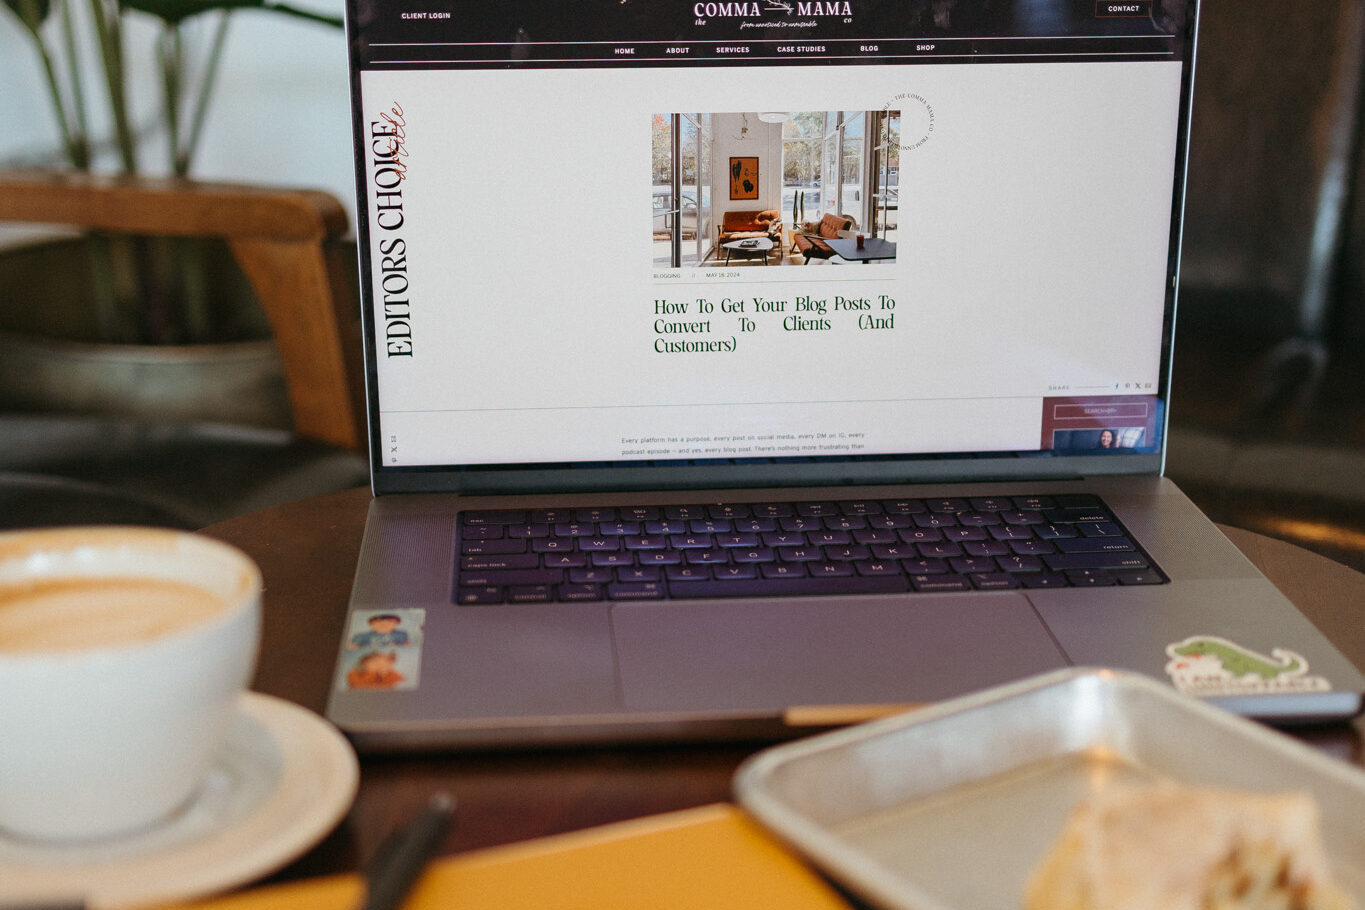
When you optimize your images for SEO, you’re making it easier for Google to figure out what your content and website are about. Images can make your blog content more engaging and accessible, making your blog post more SEO-friendly (re-read above to know what that means).
Optimizing your blog post images for SEO can:
- Increase your chances of ranking in Google image search and other similar search engines.
- Decrease your blog’s bounce rate and time on the page (aka, people staying on your website more often and longer after clicking through to your blog post).
- Improve your chances of building backlinks when people use or refer to your image, such as a unique idea, place, infographic, example, etc.
- Helps with reader comprehension as it breaks down learning, which leads to a better user experience (and, again, more engagement).
That’s not even including the social sharing opportunities for others, such as pinning your images to Pinterest (which does, in fact, also help SEO) or other platforms like Facebook, Instagram, X, or Threads.
5 Ways to Optimize Your Blog Images for SEO
While I wish it was as simple as uploading your images to a certain size or ratio, it’s so much more than that. Still, like most SEO tips, it’s not an all-or-nothing approach—doing as much as you can with what you DO have can still help your SEO and how you show up online.
Here’s what you need to pay attention to when you want to optimize your blog images for SEO:
#1. Image Content
The literal things that are in your image. It all needs to be relevant to what you’re writing about in your blog post. For example, if you’re writing a blog post about SEO tips for Showit, it wouldn’t make sense to have photos of a Wix website backend or pictures of your kitchen.
Or if you’re writing a review blog post about Honeybook, you’re not going to use Dubsado in all your screenshots or images—it just wouldn’t be relevant.
Your images should relate to your blog post; otherwise, they’ll hurt your SEO more than help it. Branded photoshoots are one of the best ways to accomplish this (or DIY infographics on Canva). Still, you can also sign up for a stock photo subscription relevant to your industry (I always recommend a paid one as the photos are not as oversaturated online).
#2. Image Quality
You can DIY your images, but if they’re blurry, fuzzy, hard to read, etc., it’s not worth it! When you’re blogging, your images should be high-quality, AKA visible, clear, and on-topic. If you can’t get this on your own, consider investing in professional or stock images.
Poor-quality images can hurt your SEO and create a poor experience for readers interested in your content, which in turn hurts your SEO.
#3. Image Size and Resolution
These are the physical (digital?) size and resolution of your image measured in pixels. Your original image size will vary depending on where your image is sourced from (think iPhone wallpaper vs. desktop wallpaper—both images, both very different sizes).
A bigger image (bigger picture) usually leads to a bigger file size and slower loading speed (slow loading speeds are bad for SEO). But your “optimized” size and resolution will depend on the platform you’re using.
For example, WordPress recommends using a 1200px by 630px image, a 3:2 image aspect ratio, for the best performance in your blog post. But Squarespace recommends that the width of your images be between 1500 and 2500 pixels, so it really depends.
If you want to avoid the whole “figure it out” on your own, that’s fine. But, if you’re more of an “if there’s a tool for this, I want it” person, I recommend using ShortPixel; it’ll automatically compress your images to a good SEO size.
#4. Image Files
Did you know you have to optimize your image file? Yep!
Again, depending on which platform your blog is hosted on, you may need to change the file type of your image. The most popular ones for blogging are PNG, JPG, and, recently, WebP.
Once you have an image type compatible with your website, you should rename your file to something other than 8763028756.jpg (although I’m very much guilty of doing this myself). Aim for something relevant to the image and branded to you! If you want a full guide to image naming, this is a great resource to read through.
#5. Image Metadata
Image metadata is the title and alt. description you have for your image. To write/optimize your image metadata for your blog posts, you need to make sure that your SEO image title is relevant to the contents of your blog and image. In some cases, you may even be able to utilize your targeted keyword.
For your alt. image description, you’ll need to describe the photo and its purpose in your content. You may also use your keyword—but it must feel natural and not forced.
Your image metadata is one aspect that makes your images accessible to readers. It also allows search engine bots to clarify what your image contains and sort it according to search queries. Just remember not to “stuff” keywords in your metadata. Google specifically sees that as a scam or spam website.
What’s the Easiest Way to See the Best Results From SEO Updates Like These?

The easiest way? To have a solid SEO foundation for your website. If you don’t have a solid foundation, your blog posts, not just your blog images, will have a much harder time ranking and won’t “work” like they’re supposed to.
When you have a good SEO foundation, every little SEO thing you do afterward has a much larger impact on how Google views, crawls, and ranks your website—leading to more traffic, leads, and conversions for your offers.
But if you want the absolute easiest way to tackle SEO, including your foundation and blogging, it’s time to outsource (preferably to me because that’s literally what I do).
Ready to get started? Apply for an SEO Audit + Optimization to build your foundation or Quarterly Content to hand off your blog to someone you trust (and love) here.
Reader Etiquette
© - Content and images in this blog are copyright this blog unless stated otherwise. Feel free to repost or share images for non-commercial purpose, but please make sure to link back to this website and its original post.
℗ - We do not store any information about your visit to our website other than for analytics and optimization for content and reading experience through the use of cookies.
c/o - Our site does at times contain paid advertisements, sponsored content, and/or affiliate links.
You might want to check these out too while you're at it
FREE Guide:
6 Simple Steps For Better SEO
INSTANTLY IMPROVE YOUR GOOGLE RANKING
Want to improve your website SEO in one afternoon? This free resource offers 6 actionable steps you can take in 15 minutes or less to instantly improve your SEO.
download now
categories
blogging
SEO
business
It's me, hi! Your SEO bestie.
get to know me
work with us
//
services
//
case studies
//
Mom of three, lover of all things blogging, and borderline obsessive coffee drinker — I also just happen to love making complicated things simple and accessible, especially when it comes to SEO. The blog is a collection of what I've learned from years of testing, trial and error, and working with amazing clients with impactful businesses (just like yours). Blogging and SEO doesn't have to be boring — and it definitely doesn't need to be difficult.

