
There’s never a dull moment with these multi-million dollar tech companies and how they want to create (or limit) visibility for small businesses. But, I have to admit that this could be one of the most interesting of the additions yet.
As of November 10th, 2026, OpenAI announced and launched the Business Hub, a space for business owners to track their performance data in ChatGPT, run AI agents, and set-up or claim your Business Profile.
And while I’m sure there are changes coming for all, today’s to-do is creating or setting up your ChatGPT Business Profile:
What is ChatGPT’s Business Profile?
The Business Profile is one section (so far, the primary feature) of their Business Hub. It seems to look and function similarly to a Google Business Profile.
However, ChatGPT’s Business Profile or Listing is open to all types of businesses, local and virtual, as well as ecommerce (as the claiming or “set-up” is slightly different for Shopify websites).
The downside? It doesn’t necessarily change how you’re recommended or cited in ChatGPT. The goal of this new profile is to provide control, context, and clarity around your business and what you offer.
TL;DR setting up your ChatGPT Business Profile might change nothing about your ChatGPT performance.
How to Create Your ChatGPT Business Profile
Setting up your business profile will take you about 10-15 minutes if your DNS settings (and if you don’t know what that is, we’ll get there) cooperate. With this being a newer feature, there are some glitches and sometimes your first verification or “claim” attempt won’t work as well as you’d hope (or it should).
Head’s up: you’ll need to be able to login and change your DNS settings, be the owner of the business, have your government-issued ID, and a short blurb about your business.
So, let’s get into it. Here’s how to create your ChatGPT Business Profile →
P.S. If you want to learn more about what you’re agreeing to when you sign-up for a profile, read this collaboration post with The Boutique Lawyer, where we talk about terms and conditions.
#1. Log into ChatGPT with your business email and head to the business hub
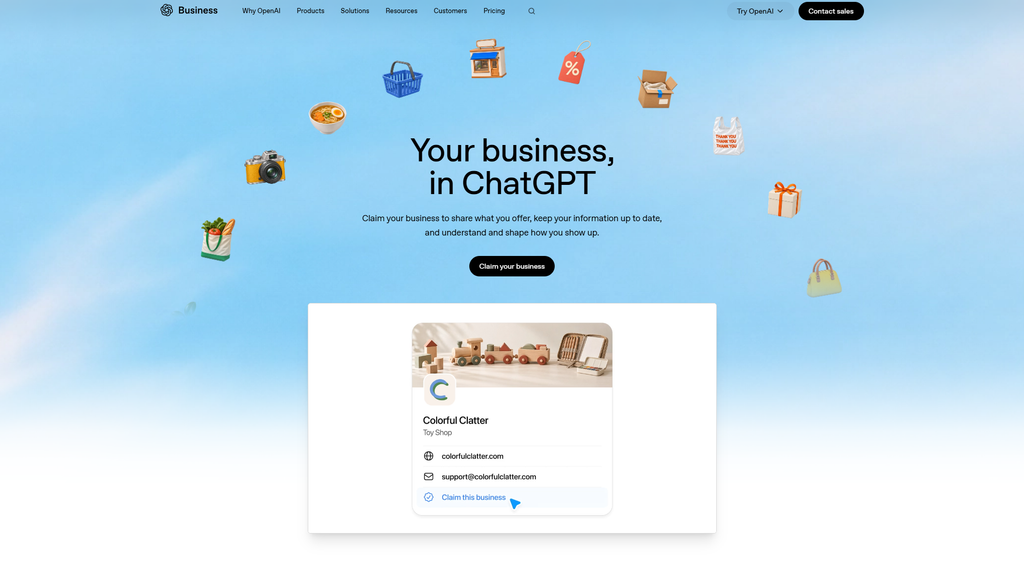
You need a standard, free ChatGPT account to claim your business—preferably one linked to your business email address. It also needs to be yours, AKA the business owner.
Once you’re logged into your account, head to the Business Hub (click here) and click “Claim your business.”
#2. Search your business to claim or create
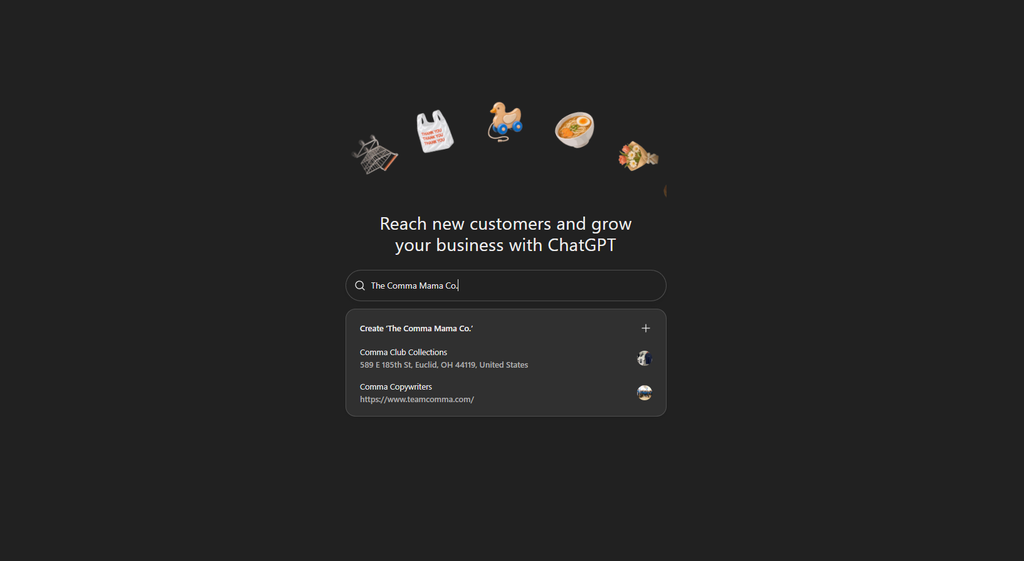
Technically, there are some businesses already available on ChatGPT, so instead of creating it, you’re claiming it. It follows a somewhat similar process. You’ll start by searching your business name and you’ll see a dropdown.
If your business name appears, you can click to claim and move forward. If it doesn’t, you’ll need to click “Create “Your Business Name Here.””
#3. Choose how you interact with your customers
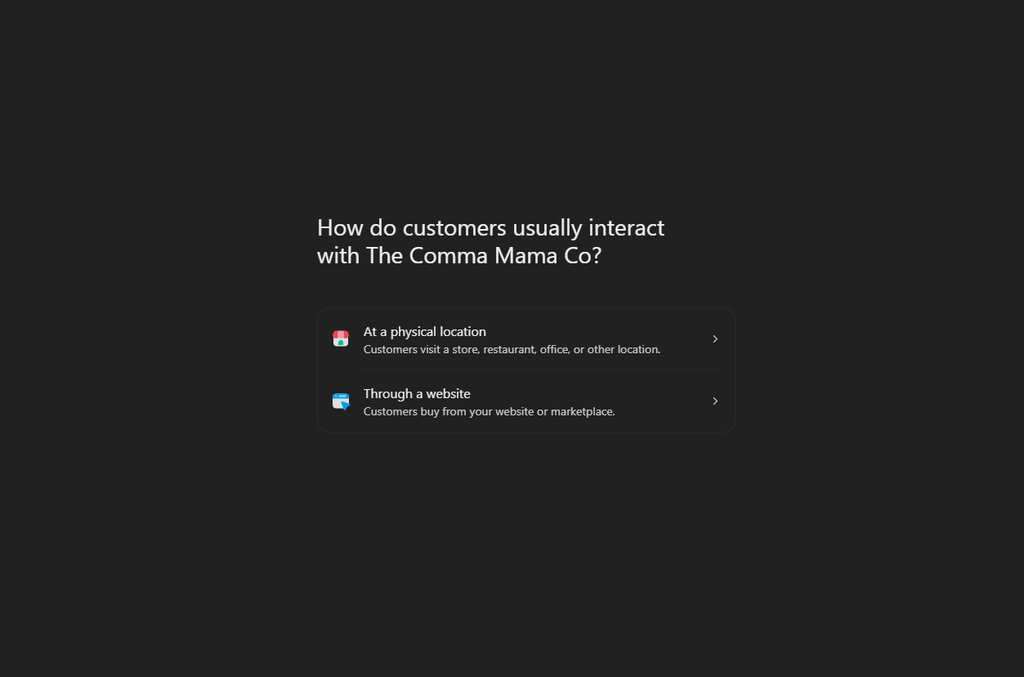
Unlike Google Business Profiles, where you’re required to be in-person or service area based, ChatGPT provides an option specifically for online businesses. For this step, pick what best matches for your business: whether you serve customers at a physical location or through a website.
#4. Add your business website
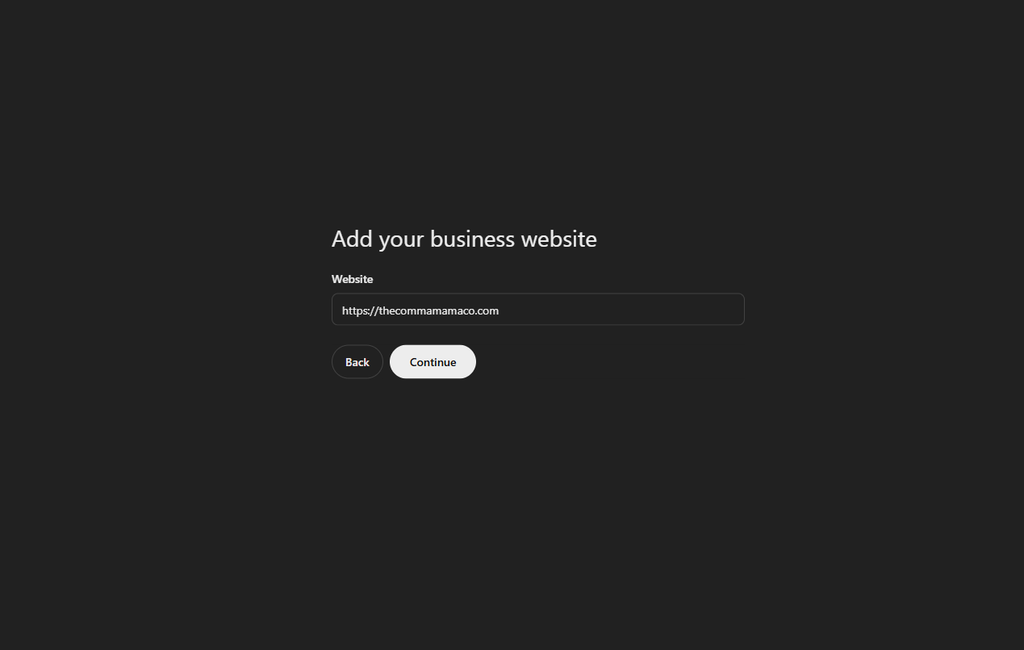
Next up is adding your business website. This needs to be an active domain and one that you own and have access to DNS settings. ChatGPT requires you type it out fully with the “https://” in front.
Once done, click “Continue.”
#5. DNS verification
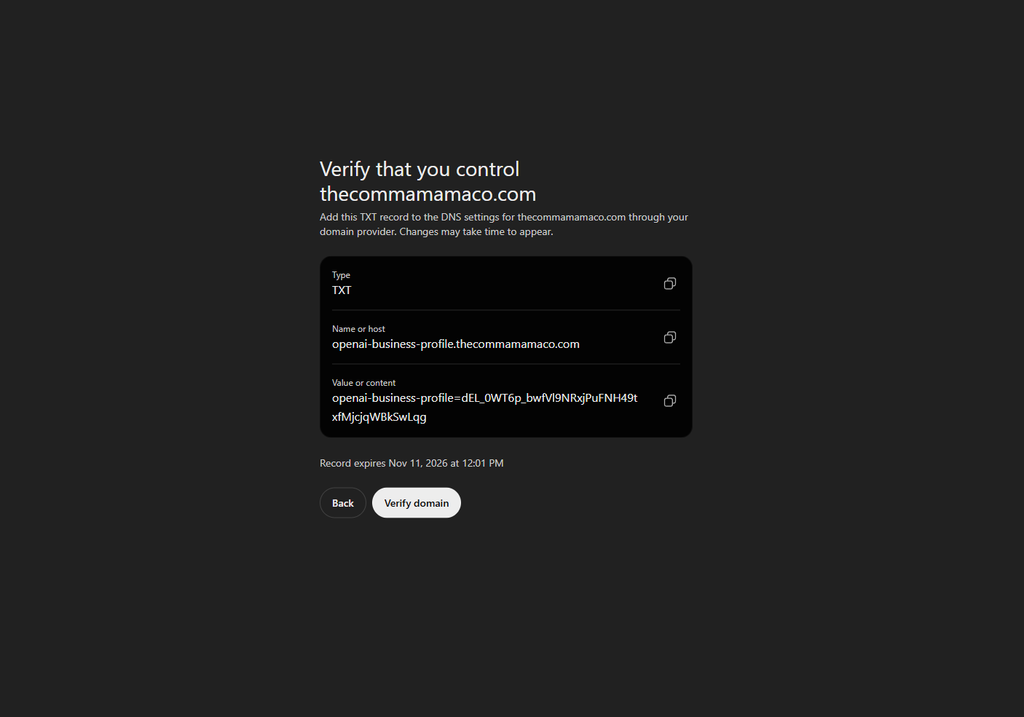
This is probably the most “tech heavy” step of the process. You’ll need to add a TXT record to your DNS settings, usually where your domain is housed depending on where your website is built (if you’ve already set up your Google Search Console, this is a similar process!).
Think Namecheap, Hostigator, Squarespace Domains, GoDaddy, etc.
ALSO, this is the most time-consuming step in the process as it relies on your DNS to update. This is known to be a little glitchy, and your record to add can expire in the meantime, meaning you’ll need to repeat the process until it works.
For my own website, I tried day one and had to retry a few days later!
#6. Add your business category and short description
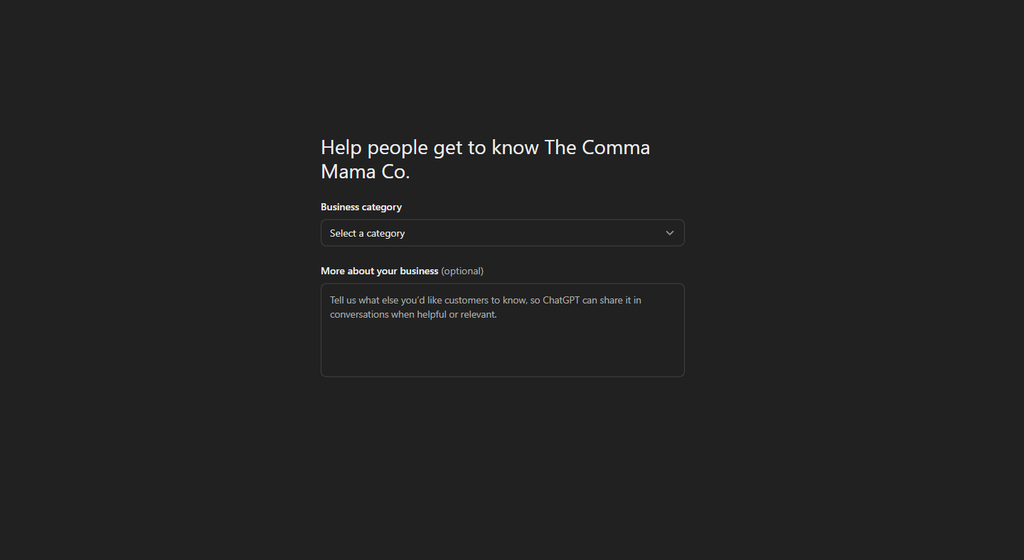
If you make it to this page, then you’ve successfully made it through your first verification step in creating your ChatGPT business profile. For this page, you’ll need to choose your business category (it’s a dropdown menu) and add a short description.
While there’s no best practice (yet, there’s no data at the moment), being contextual is a good start. Also, it has a 300 character limit, including spaces.
#7. Provide your forward-facing contact information
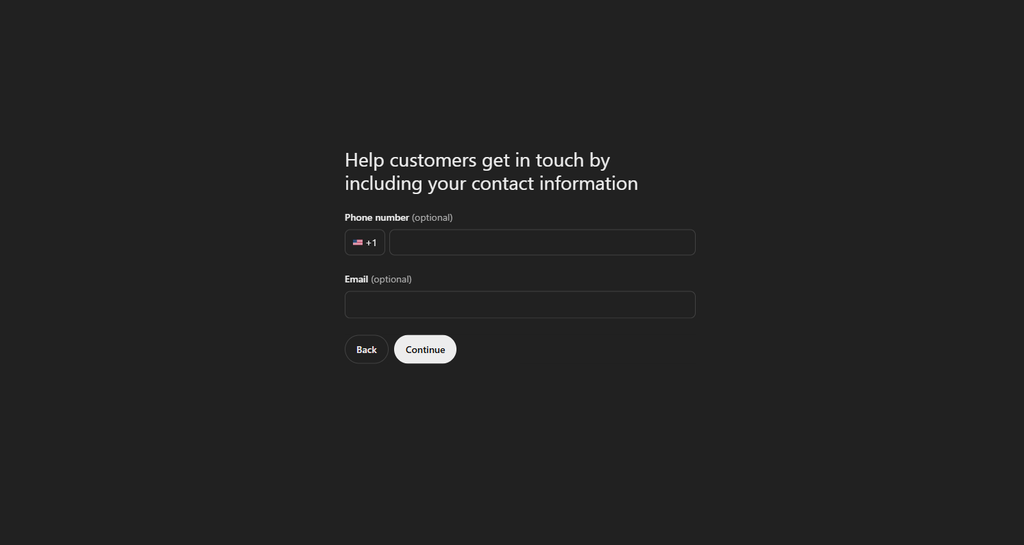
Next up is your forward facing contact information, both of which are optional. You can choose to add a phone number and/or an email address. If you choose to add them, you’ll go through a verification process.
I recommend at least adding an email address if you have multiple (for example, a hello@ or info@ email address in addition to your daily one).
#8. Clarify your delivery process
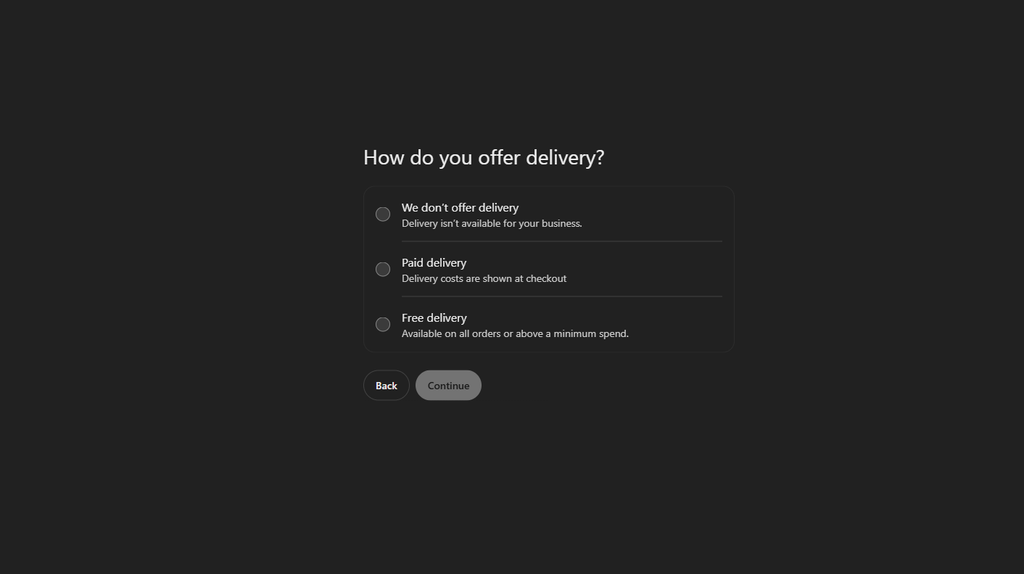
Whether you offer delivery or not, ChatGPT wants to know. If you’re an online service provider, select “we don’t offer delivery,” otherwise pick the one that best fits your business between “Paid delivery” and “Free delivery.”
Then click “Continue.”
#9. Add your return policy
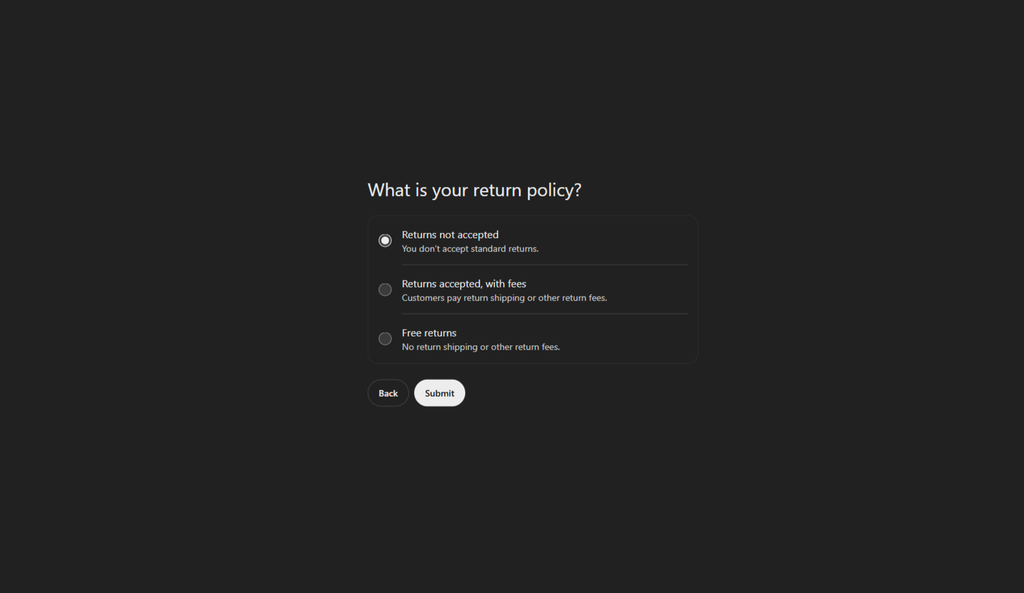
I kinda love this feature, but you get to choose what your basic return policy is. For example, you can pick from “Returns not accepted,” “Returns accepted with fees,” or “Free returns.” For an online service provider, choose “Returns not accepted.”
Unless for some reason your personal policy is different!
#10. Finish your ChatGPT business profile set-up
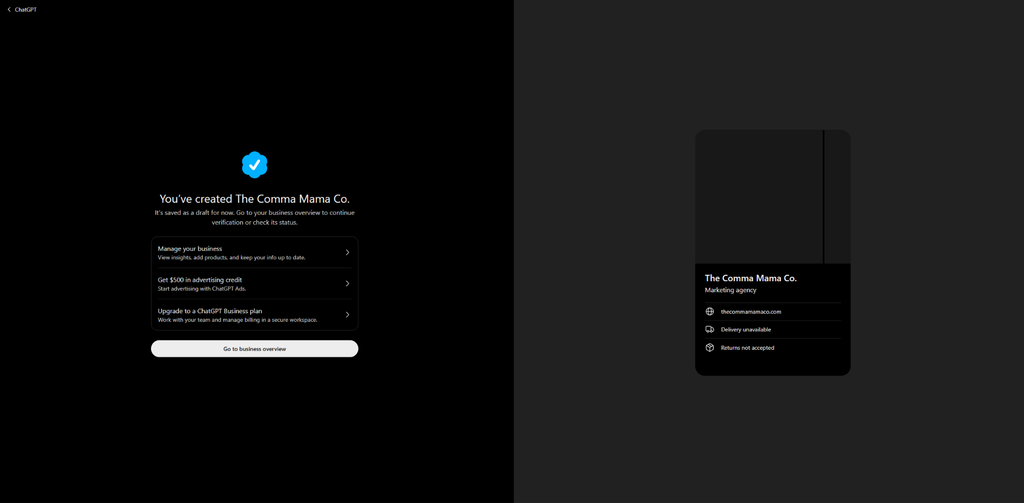
And with that, you’re 99% of the way there! You’ll land on a “You’ve created [Your Brand Name Here” preview page—and it makes you think you’re done. But you’re not.
For your business profile to go live on ChatGPT and for you to make changes, you have to click “Go to Business Overview” where you’ll find a notification asking you to verify your identity through Persona. You’ll need to follow the steps in the app (using your government-issued ID) and wait for this final verification to go through!
And then you’re actually done!
What’s Next? Tracking Your Performance Data in ChatGPT
The coolest thing about having a ChatGPT business profile and business hub is the analytics. For so long, we’ve had estimated analytics and correlation to rely on, not causation, when it comes to what’s working and what’s not. With the business hub, that’s changes things:
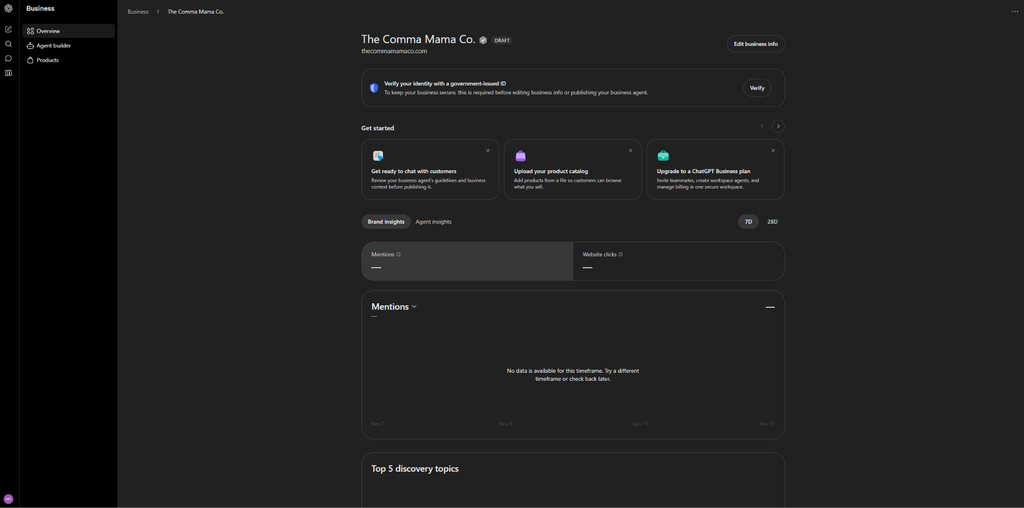
Set up similar to GBP (Google Business Profile) analytics, it’ll show some core metrics which can help us find what works for the platform and how to improve a profile’s performance in results.
So don’t set-up your profile and ghost. Set it up and watch what happens. Look at the trends in what shows up, the commonalities. Heck, you should even be looking out for things you don’t want to show up for, but are anyway.
All of it’s data that can lead your next step (and the next place you spend your time). And while I can’t say for certain if the tradeoff of signing the terms and conditions for OpenAI is worth it for the profile to exist, I can tell you it’s an option.
Need help setting up your ChatGPT (and working on your overall SEO)? Join Back Pocket SEO, the done-with-you SEO membership for small business owners like you!
Need help with * all the things * and don’t want to do it yourself? Apply for an SEO audit and optimization and let me take SEO off your to-do list 😉

